In this guide
On my solo trip in Switzerland, I mostly used three Fujifilm recipes: Mountain Reality, Cinematic Gold and Cuban Negative.
Each one worked for a different kind of scene.
Mountain Reality was the recipe I used most for mountains, lakes, clouds and alpine villages. Cinematic Gold worked better for warm light, quiet streets and travel details. Cuban Negative gave some scenes a rougher, warmer and more documentary-style feeling.
I do not think there is one perfect Fujifilm recipe for Switzerland. The light changes too much. One moment you are photographing snow-covered mountains with clouds moving through the valley, and the next you are walking through a train station, village street or lakeside town.
So instead of trying to use one look for everything, I switched between these three depending on the scene.
Quick answer
For my Switzerland travel photos, I used these three Fujifilm recipes:
| Recipe | Best for | Look |
|---|---|---|
| Mountain Reality | Mountains, lakes, clouds, alpine villages | Natural, warm, grounded |
| Cinematic Gold | Warm light, street scenes, travel details | Golden, nostalgic, cinematic |
| Cuban Negative | Stations, streets, everyday travel moments | Warm, punchy, documentary |
If I had to choose one default recipe for Switzerland, I would choose Mountain Reality. It handled alpine landscapes, clouds, snow, greens and wooden chalets better than the others.
For cities, warm evening light and more nostalgic travel photos, I preferred Cinematic Gold.
For scenes that needed more contrast and a less polished documentary look, I used Cuban Negative.
Why I used different Fujifilm recipes in Switzerland
Switzerland is not one type of photography situation.
You get mountains, lakes, trains, old villages, tourist towns, forests, stations, cloudy valleys, bright snow and harsh midday sun. A recipe that looks good in one place can feel wrong ten minutes later.
That is why I like using several Fujifilm recipes instead of forcing one look onto the whole trip.
For me, the goal is not to create perfect colour accuracy. I want the photos to feel close to how the moment felt: sometimes warm and calm, sometimes rougher and more documentary, sometimes natural and grounded.
Shooting JPEG recipes also keeps the process simple. I still edit some photos, but I like having a strong look straight out of camera, especially when travelling alone and moving around a lot.
If you are new to this, I also have a separate guide on how to use Fujifilm recipes.
Mountain Reality: best for mountains and alpine landscapes
Mountain Reality was the most useful recipe for the Swiss mountains.
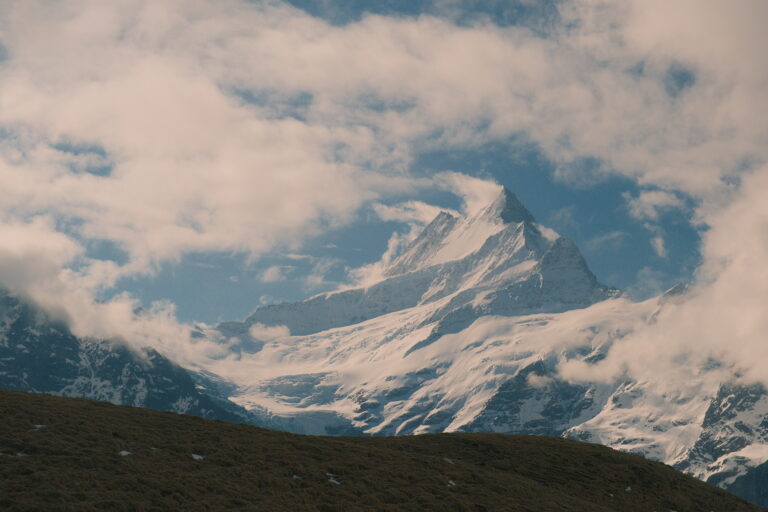
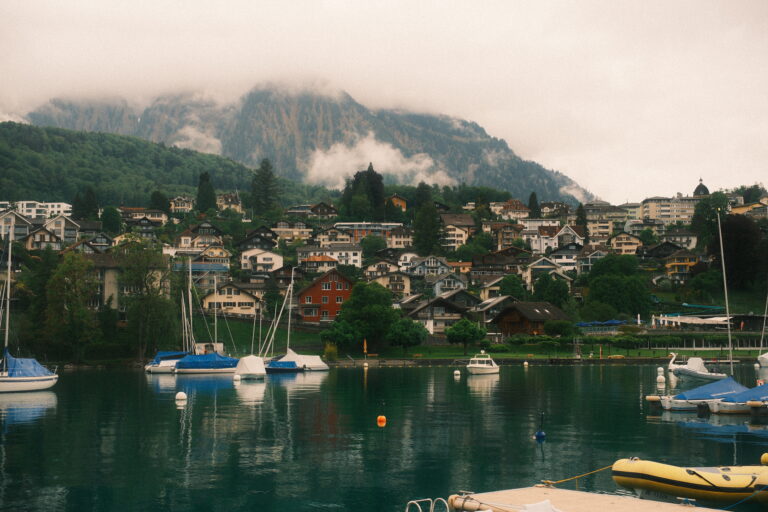
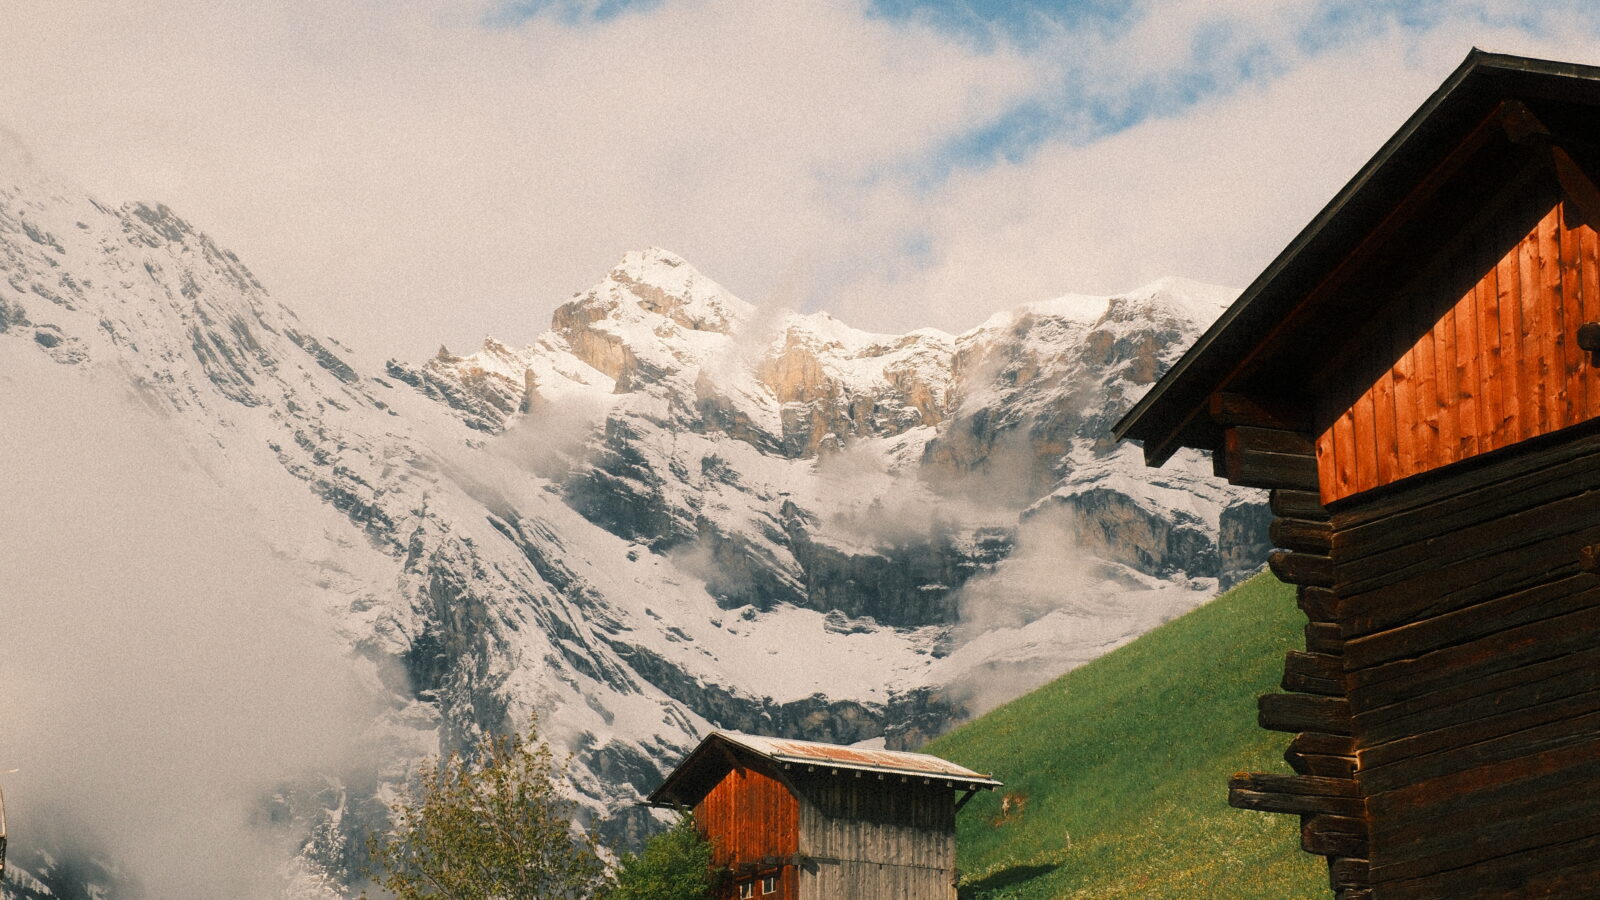
I used it for scenes with snow, clouds, green valleys, wooden chalets, lakes and mountain layers. It gives the photos a warm but natural look without making everything feel too golden or stylised.
This was important in Switzerland, because the landscapes already have enough drama. Snow-covered peaks, low clouds and wooden buildings do not need a heavy look. They just need a recipe that keeps the atmosphere without making the colours feel fake.
Mountain Reality worked especially well for:
- alpine landscapes
- cloudy mountain scenes
- wooden chalets
- green valleys
- lakes and viewpoints
- snow-covered peaks
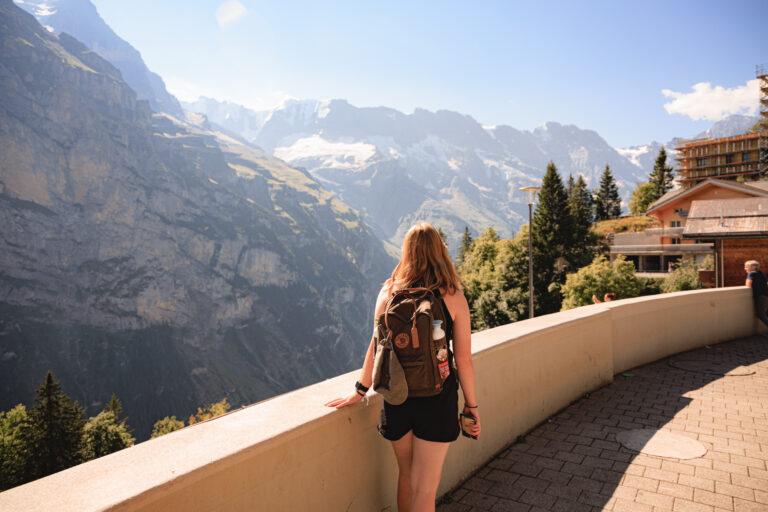
- Switzerland travel photos with people in the frame
The look is more grounded than Cinematic Gold. It still has warmth, but it does not push the image too far into a nostalgic or golden direction.
For me, this is the best of the three recipes for Switzerland-style landscapes.
Full recipe: Mountain Reality Fujifilm Recipe
Cinematic Gold: best for warm travel moments
Cinematic Gold is warmer, softer and more nostalgic.
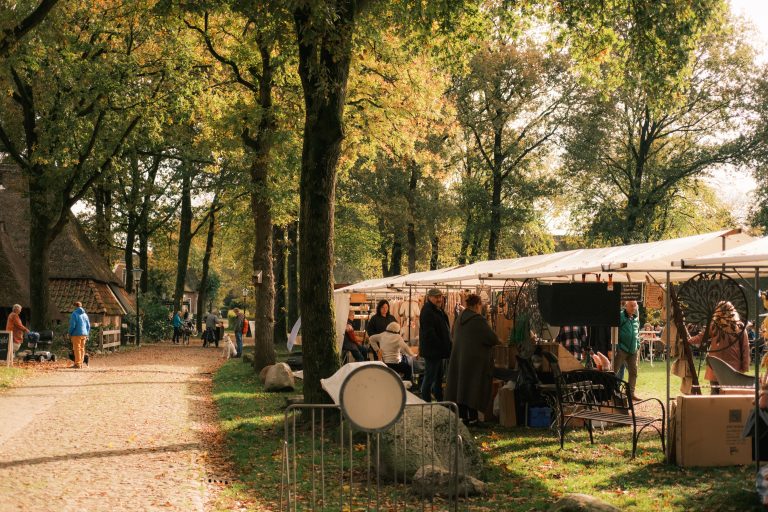
I used it when the scene already had some warmth in it: late afternoon light, quiet streets, old buildings, markets, trees and small everyday details. It works best when you want a travel photo to feel a little more cinematic without becoming too heavy.
In Switzerland, I would not use Cinematic Gold for every mountain scene. Sometimes the golden tones can be too much, especially if the landscape already has strong greens, snow or bright highlights.
But for slower travel moments, it works really well.
Cinematic Gold worked best for:
- warm street scenes
- golden-hour light
- old buildings
- travel details
- autumn colours
- markets and small city scenes
- quiet documentary-style moments
Compared with Mountain Reality, Cinematic Gold feels more emotional and nostalgic. It is less neutral, but sometimes that is exactly what a scene needs.
Full recipe: Cinematic Gold Fujifilm Recipe
Cuban Negative: best for rougher documentary-style travel photos
Cuban Negative is the punchiest of the three.
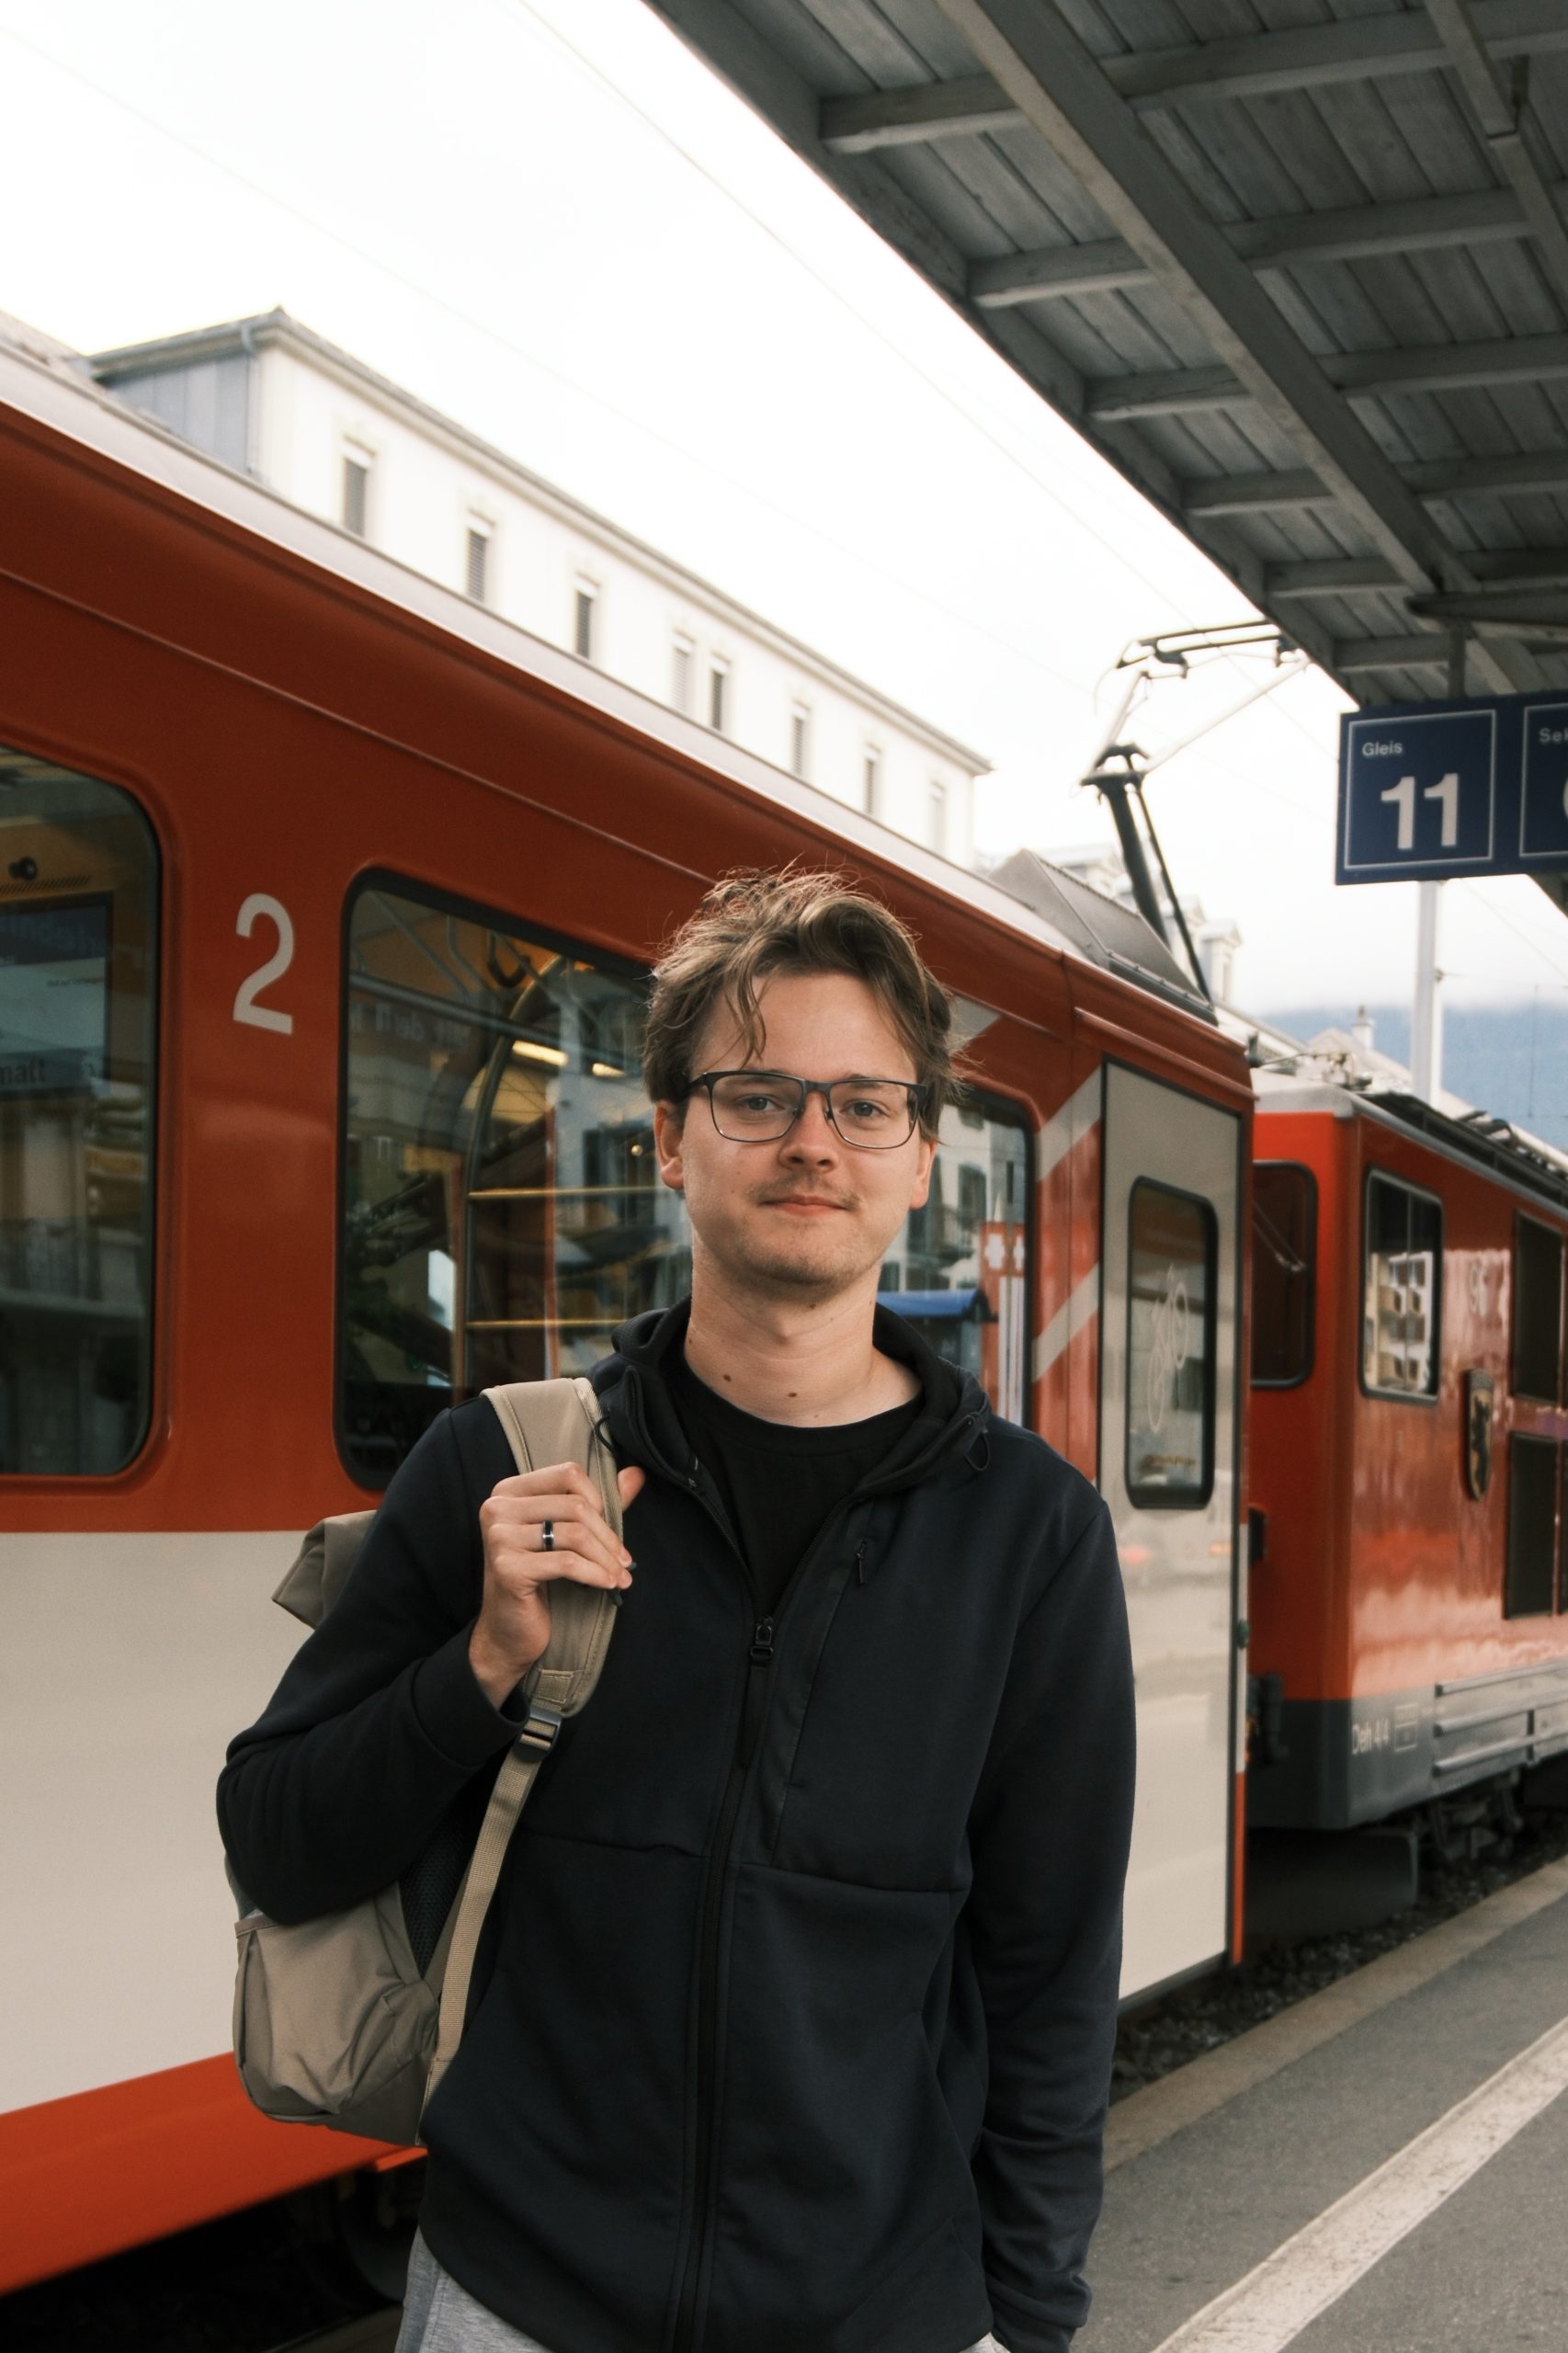
I used it when I wanted a scene to feel less polished and more documentary. It works well for train stations, streets, signs, cafés, old buildings and everyday travel moments that do not need to look too perfect.
In Switzerland, not every photo is a perfect mountain view. Some of the most interesting travel photos are the smaller scenes between the obvious highlights: waiting for a train, walking through a station, passing an old building, or noticing a quiet corner in a village.
That is where Cuban Negative makes sense.
Cuban Negative worked best for:
- train stations
- street scenes
- signs and details
- cafés and markets
- old buildings
- everyday travel photos
- scenes with texture and contrast
Compared with Cinematic Gold, Cuban Negative feels less soft and less nostalgic. Compared with Mountain Reality, it feels more urban and more direct.
It is not my first choice for clean mountain landscapes, but it is useful when a travel scene needs more edge.
Full recipe: Cuban Negative Fujifilm Recipe
Which recipe worked best in the Swiss mountains?
For mountains, I would choose Mountain Reality.
It handled the mix of snow, clouds, greens, shadows and wooden buildings better than the other two. It kept the scene warm, but still believable.
Cinematic Gold can work in the mountains, especially in warm evening light, but it can become too stylised if the landscape already has strong colour.
Cuban Negative can work for mountain villages, stations or documentary-style travel scenes, but I would not use it as my main alpine landscape recipe.
My simple rule:
| Situation | Recipe I would use |
| Mountains and clouds | Mountain Reality |
| Alpine villages | Mountain Reality or Cuban Negative |
| Golden-hour travel scenes | Cinematic Gold |
| Train stations and streets | Cuban Negative |
| Warm city details | Cinematic Gold |
| Everyday documentary moments | Cuban Negative |
Which recipe worked best for city and street scenes?
For street and city scenes, I would choose between Cinematic Gold and Cuban Negative.
Cinematic Gold is better when the light is warm, the colours are soft and you want a nostalgic travel feeling. It works well for slower scenes, old buildings, markets and autumn tones.
Cuban Negative is better when the scene needs more contrast or texture. It feels less polished, which can make ordinary travel moments more interesting.
Mountain Reality can still work in towns and villages, but I see it more as my landscape and alpine travel recipe.
The season can matter as much as the destination. For cooler weather, warm colours and changing light, see my best Fujifilm recipes for autumn photography.
Can you use one Fujifilm recipe for an entire Switzerland trip?
You can, but I would not.
Switzerland changes too much from scene to scene. A single recipe might be fine if you want a consistent look, but it can also make some photos feel forced.
If you want to keep things simple, I would choose one main recipe and one backup.
For example:
- Mountain Reality as your default for landscapes
- Cinematic Gold for warm city or travel moments
- Cuban Negative if you want something punchier and more documentary
That gives you enough flexibility without constantly changing settings.
What I would use next time
If I went back to Switzerland with only these three recipes, I would use them like this:
Mountain Reality would be my default for the mountains. I would use it for alpine scenes, lakes, cloudy weather, wooden chalets and most landscape photos.
Cinematic Gold would be my warm travel recipe. I would use it in cities, villages, golden light and slower moments where I want the photo to feel more nostalgic.
Cuban Negative would be my documentary recipe. I would use it for stations, streets, signs, cafés and the less polished moments between the big views.
I would also bring a black and white recipe for rainy days, high-contrast street scenes and architecture. For that, I would use something like my Old Black & White Fujifilm Recipe.
Final thoughts
There is no single best Fujifilm recipe for Switzerland.
For me, Mountain Reality worked best for the mountains, Cinematic Gold worked best for warmer travel scenes, and Cuban Negative worked best for rougher documentary-style moments.
That combination gave me enough range without making the trip feel overcomplicated.
If you mainly photograph landscapes, start with Mountain Reality. If you prefer warm travel photos, try Cinematic Gold. If you like street photography and everyday scenes, Cuban Negative is the one I would add next.
You can find all my recipes here: Fujifilm Recipes.